My first time working on a bycicle:
Painfull drivetrain rebuild on my Merida matts TFS 500 XC
[Parts] / [Assembly] / [Result] / [Updates] / [Sources]
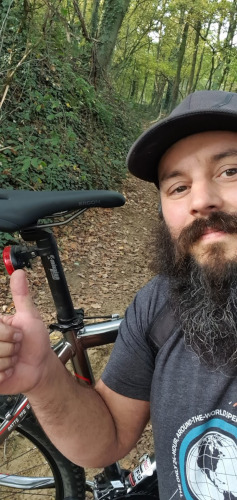
In the name of health, a secondhand mountainbike was purchased a few months ago.
A few initial trips around the local waterflow and some rides in nearby woods proved to provide enough enjoyment in this new endeavour
and when the chain broke I was eager enough to also replace the front and rear sprockets.
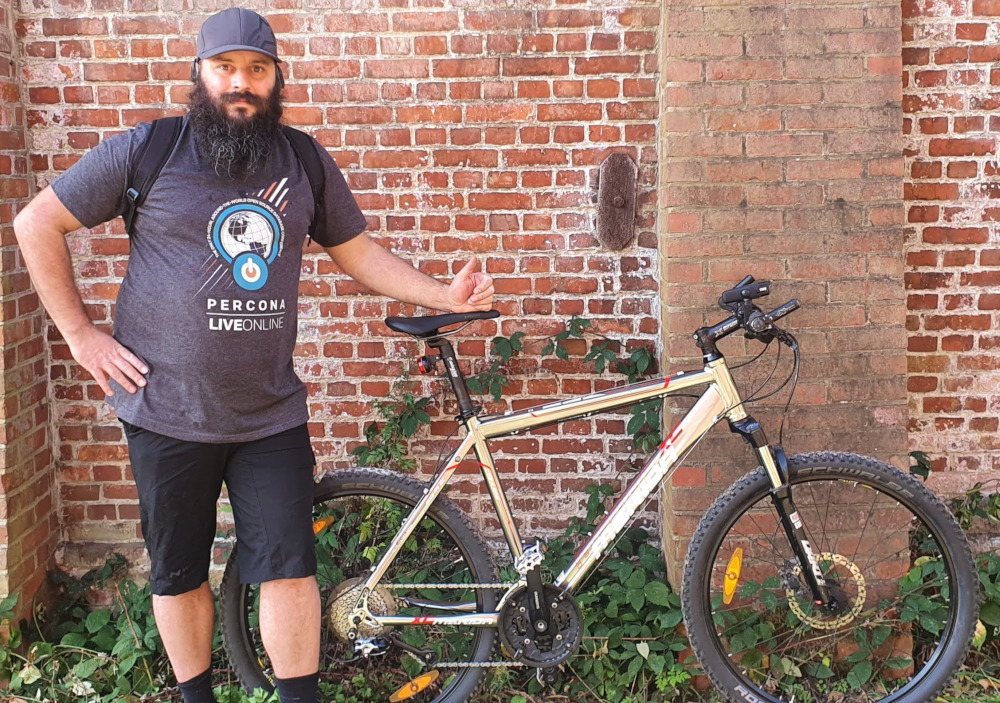
On this page I will explain how I rebuild my drivetrain on a mountainbike from 2009, or 2008 forgot to ask the previous owner.
Parts
basic drivetrain elements:
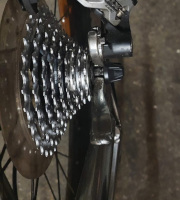
| cassette (in my case 9 speed) | 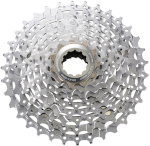 |
| crankset (3 speed here) | 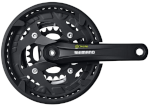 |
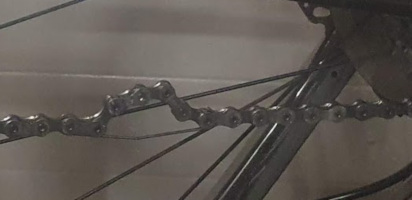
| chain | 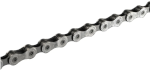 |
The chain gets guided by both:
| front derailleur | 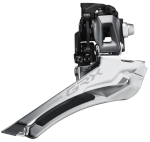 |
| rear derailleur | 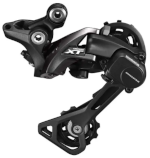 |
I replaced the sprockets in the rear derailleur together with the cassette and crankset.
“Sadly” enough I also got to learn about:
Seeing this part should should not have suffered as much as the sprockets I did not opt to change this initially.
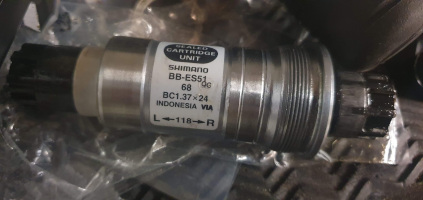
| crankshaft | 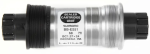 |
As I am used to work on motorcycles but not bycicles I also needed to order a few specific tools for the job ahead.
- Cassette removal tool
- Cassette Chainwhip (keeps the cassette in place while removing it)
- Chain rivetting tool
- Crank removal tool
- Bracketplug (for crankshaft removal)
Assembly
Removing most items proved easy enough, no seized items, and removing the cassette and cranks was more than easy enough with the right tools. The cassette was replaced quite easily. The chain proved to be too long initially, seems manufacturers send out chains too long to make sure all type of bikes can use them. Using the newly acquired rivetting tool adapting the chain was done almost effortless.
 |
 |
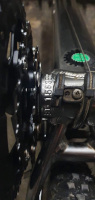 |
The driveside crank however proved to be more of a challenge. The crankset I bought was aimed at a more recent bike than mine, and I could not secure it without fixing it in place on the old crankshaft. Checking the difference between the old crankset and the new it was clear that the newer crankset had a lowered attachment point than the old one. Since a bike not being able to be moved forward was clearly not what I was aiming for I got in contact with the support team of the shop where I bought the parts. The friendly support staff asked me a few questions and a specialist provided me a link to a crankshaft, that one would surely fix my issues. With the measurements taken during the call (frame width 73mm wide and crankshaft 118mm wide) and the crankshaft not being of the specs the bike frame offered (68/118mm wide) I was seriously doubting the item would fix my issues, but after a second contact another specialist at the shop assured me that it would be the right part.
One purchase later the old crankshaft had to be removed, this one had actually seized into the frame, more than probably due to age and not being used, so I had to take it to a nearby motorcycle shop to get it loosened with an impact wrench. Cleaning out the frame and putting in the new crankshaft actually proved no real solution, the crank still needed to be turned in too far to the frame and I could not tune the front derailleur enough to keep the chain from grinding against it. Again contact with the support desk was sought, but as the cranks attachment was deeper set into the crank than originally it wasn’t odd that the size of the crankshaft would need to fit the 73mm frame but would need to be wider than the 118mm the shop kept proposing.
That saturday I sent a mail to the shop to complain about the “specialists”, but I also looked around on other shops for a crankshaft that would fit the frame and have a larger shaft in itself, a fitting 73/121 crankshaft was found and ordered. On monday I got a reply from the original shop that they did not have the right crankshaft for me on the webshop, but that another specialist found one in stock and they would send it right away. Looking at the specs of the crankshaft, instead of the original 68/118 they sent me a replacement and it would now be a 73/118, by this time I was already assured it would not be a great fit.
Both new crankshafts arrived on tuesday, so I was out working in the nice weather, with four crankshafts, an old 73/118, a new 73/118, the bad 68/118 and a possible solution: the 73/121mm specced crankshaft. After fitting the newly sent 73/118, the chain would indeed still grind against the front derailleur when it was positioned on the largest of the rear sprockets.
With the chain still on the largest rear sprocket the 73/121 crankshaft reduced that to a very slight rub after tuning the front derailleur, apparently the right crankshaft would have been the 73/126mm, but that one is currently out of stock at both shops I ordered from. Having only one unusable sprocket left, I was actually quite happy that I could go for a ride, only two things left now…
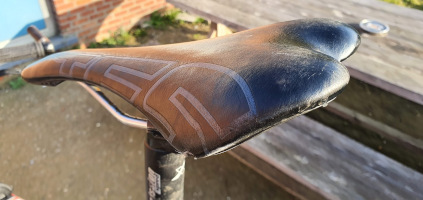
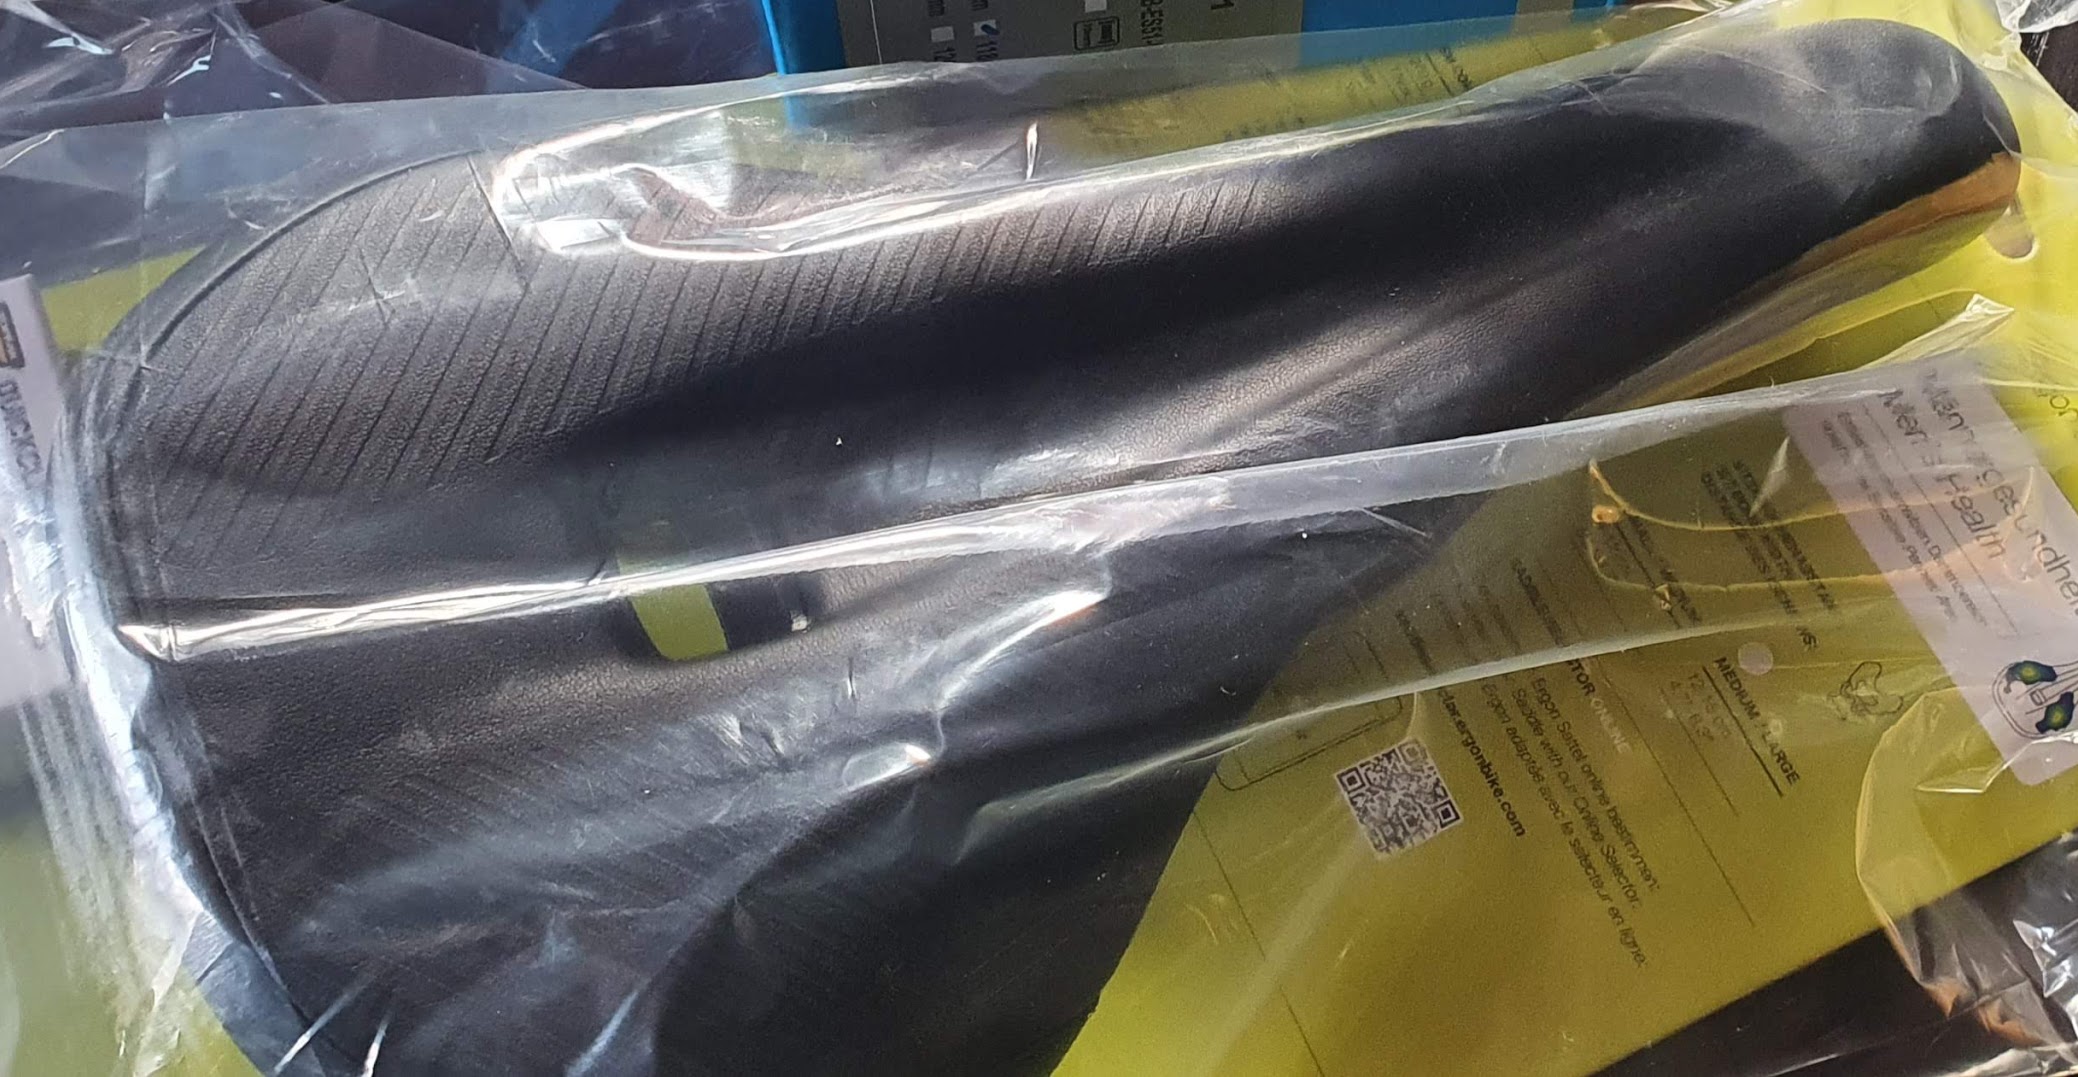
First off, I won a voucher from my employer to use on sporting/learning and I took the opportunity to upgrade the seat of the mountainbike to a more comfortable one, Thanks !
After that, I still needed to tune the derailleurs so that the chain dances around over the sprockets instead of grinding and switching gears unwanted. This sure took a little while to understand the subtilities of the different screws. But the great explanation in the Park Tool videos (link in [Sources]) helped tremendously.
Result
After two inspection runs today, I can say that the bike runs and shifts great, the only issue I could find was the chain “skipping a beat” when going uphill on the heavier gears, shifting to a lower gear helps but I suspect I need to learn to better rivet my chain as it could be a chainlink that’s seized, to be investigated.
I learned quite a bit on the bike’s drivetrain and while it was not a frustration free experience, doing this myself surely feels good and the experience (and new tools) will help me not to get stranded out on a ride somewhere like last time.
Updates
Did a first real test run on the blue loop at Scherpenheuvel (mtbroutedatabase entry).
Almost 27 kilometers in which I noticed my front gearing needs some extra work, but rear gearswitching went superb.
The chain is still skipping a beat when pushing heavily, both things to be checked at this weekend. This blue loop is perfect for me, close to home, not too hard but good enough to build up my physique before pushing on to harder tracks.
Sources
Most of the parts and tools came from https://www.mantel.com/be, I like their shop, delivery and support line, just don’t trust their specialists too much.
Thanks to https://www.bikester.be who had the “almost right” crankshaft in stock, at least I can use the bike again.
And a big shoutout to https://www.parktool.com/, who actually put together some great public How-To videos:


started 7nov20 / updated 10nov20